11 How To Do A Blowout With A Blow Dryer That Are Both Cute and Low Maintenance

- Your 5-Minute Blowout
- Guidelines to Blow Dry Styles for Different Hair Types
- Effortlessly Chic Long Layered Blowout Hairstyle with Voluminous Waves
- Curly Blowout
- Essential Do’s and Don’ts of Blow Drying
- Round Brush Basics for Beginners
- Sleek and Straight Blowout with a Soft Bend
- Volumizing Root Blowout for Fine Hair
- Beachy Wave Blowout Using a Big Barrel Brush
- Bangs and Face-Framing Blowout Technique
- Quick Blowout Refresh for Second-Day Hair
- Low Maintenance Layered Blowout for Medium Length Hair
11 How To Do A Blowout With A Blow Dryer That Are Both Cute and Low Maintenance
If you’ve ever left a salon feeling like your hair had a personality upgrade, you already know what a good blowout can do. But paying $50 every time you want that bounce isn’t realistic for most of us. The good news is that a great blowout with a blow dryer is completely doable at home, even if you’re not exactly a hairstylist. You just need the right technique, the right tools, and a little patience while you get the hang of it.
This guide walks you through everything from quick five-minute routines to techniques for specific hair types, plus a few styling ideas that look way more polished than the effort they actually take. Let’s get into it.
Your 5-Minute Blowout
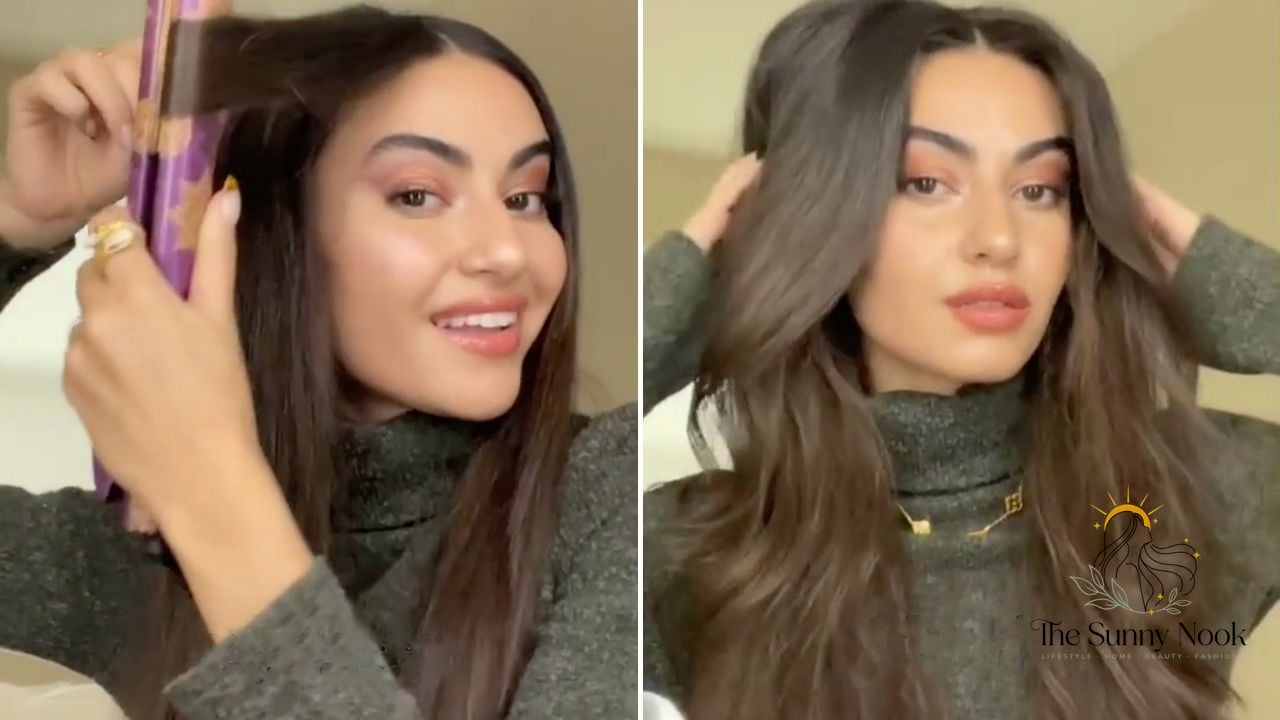
Not every morning allows for a full styling session, and that’s exactly why this quick method exists. Start by rough-drying your hair with your fingers to remove most of the moisture, focusing the airflow at your roots for lift. Once it’s about 80% dry, run a round brush through your front pieces and crown for a few seconds each to smooth flyaways and add shape. It won’t have salon-level polish, but it’ll look intentional instead of rushed, which is really all anyone’s going for on a busy morning.
Guidelines to Blow Dry Styles for Different Hair Types

Fine hair does best with a lower heat setting and a round brush to avoid stripping out natural volume. Thick or coarse hair usually needs higher heat and a bit more tension while brushing to actually smooth the cuticle. Wavy hair benefits from a diffuser or a mix of air-drying and finishing with a brush, while coily and curly textures often do better with a diffuser attachment to protect the curl pattern instead of a traditional round brush. Knowing your texture before you start saves you a lot of frustration and a lot of frizz.
Effortlessly Chic Long Layered Blowout Hairstyle with Voluminous Waves

This look is all about movement. Long layers give the hair somewhere to fall into soft waves, and a medium round brush helps build volume from the roots down through the mid-lengths. Blow dry in sections, rotating the brush outward as you go to create that soft bend without looking overly curled. It suits medium to thick hair especially well, since the layers keep things from looking heavy, and it works for pretty much any face shape thanks to the face-framing movement around the front.
Curly Blowout

A curly blowout stretches and smooths natural curls into a fuller, softer shape without fully straightening them. Using a diffuser attachment on low or medium heat, cup sections of hair and let the diffuser do the work instead of pulling a brush through, which can cause frizz. This style is a favorite for people with wavy to curly hair who want extra volume and a slightly more polished curl pattern without committing to flat-iron straight hair. It’s lower maintenance than it sounds since you’re working with your natural texture instead of against it.
Essential Do’s and Don’ts of Blow Drying

Do use a heat protectant every single time, no exceptions. Do dry your hair about 80% of the way with your fingers before you bring in a brush, since brushing soaking wet hair adds unnecessary damage. Don’t blast the same section with high heat for too long, and don’t skip sectioning your hair, since trying to dry it all at once usually leads to uneven results and more frizz than you started with.
Round Brush Basics for Beginners

If you’re new to round brushes, size matters more than people realize. A smaller barrel creates tighter curl and more volume, while a larger barrel gives you soft waves and length. Start with a medium size until you get comfortable with the rotation motion, since it’s more forgiving than the extremes. Practicing on dry hair first, without any heat, can help you get the wrist movement down before you add a hot tool into the mix.
Sleek and Straight Blowout with a Soft Bend

Not every blowout needs waves. This version uses a paddle brush and a nozzle attachment to smooth the hair completely straight, then finishes the very ends with a slight inward curve using a round brush. It reads polished and put-together, almost like a flat iron look, but with more natural shine since you’re not applying direct heat plates to the strand. This suits straight to slightly wavy hair best, especially medium to fine textures that hold a shape easily.
Volumizing Root Blowout for Fine Hair

Fine hair often falls flat by midday, and this technique specifically targets that problem. Dry your roots upside down first, using your fingers to lift and separate as you go, then flip your hair back over and finish the mid-lengths and ends with a round brush. A volumizing mousse applied to damp roots before you start makes a noticeable difference here. This one’s a favorite among people with fine or thin hair who want that bouncy, just-left-the-salon look without teasing or heavy products weighing things down.
Beachy Wave Blowout Using a Big Barrel Brush

For that lived-in, effortless wave, a large barrel round brush is your best friend. Dry sections by wrapping the hair loosely around the brush and holding for a few seconds before releasing, which creates a soft, undone wave rather than a tight curl. This works beautifully on medium to long hair and pairs well with a texturizing spray afterward for extra grip. It’s a low maintenance style since the slight imperfection is actually part of the appeal.
Bangs and Face-Framing Blowout Technique

Bangs and face-framing pieces deserve their own attention during a blowout, since they’re the first thing people notice. Use a small round brush and dry these sections last, rotating them slightly away from your face for soft movement instead of a flat, straight-across look. This technique works whether you have wispy bangs, curtain bangs, or just longer face-framing layers, and it makes a huge difference in how finished your whole style looks, even if the rest of your hair is left more natural.
Quick Blowout Refresh for Second-Day Hair

You don’t always need to start from a wet wash to get that blowout look again. On second-day hair, spritz your roots with a bit of water or dry shampoo, then use your blow dryer on a low setting with a round brush to redefine your shape, focusing mainly on the crown and any flat sections. This trick extends the life of your original blowout by a day or two and works especially well for those with thick or coarse hair that doesn’t need daily washing anyway.
Low Maintenance Layered Blowout for Medium Length Hair

This is one of those styles that looks polished even when you only spend a few minutes on it. Medium length hair with soft layers blow dries quickly since there’s less length to manage, and a medium round brush through the ends gives just enough bend to look styled without looking overdone. It works well for straight to wavy textures and suits most face shapes, making it a solid everyday option for anyone who wants their hair to look done without the daily time commitment.
Whichever method you land on, remember that a good blowout is really about technique more than expensive tools. Section your hair, use the right brush size for the look you want, and don’t rush the process, even when you’re doing the five-minute version. Once you find your rhythm, doing a blowout at home starts to feel less like a chore and more like a five-minute confidence boost before you walk out the door.